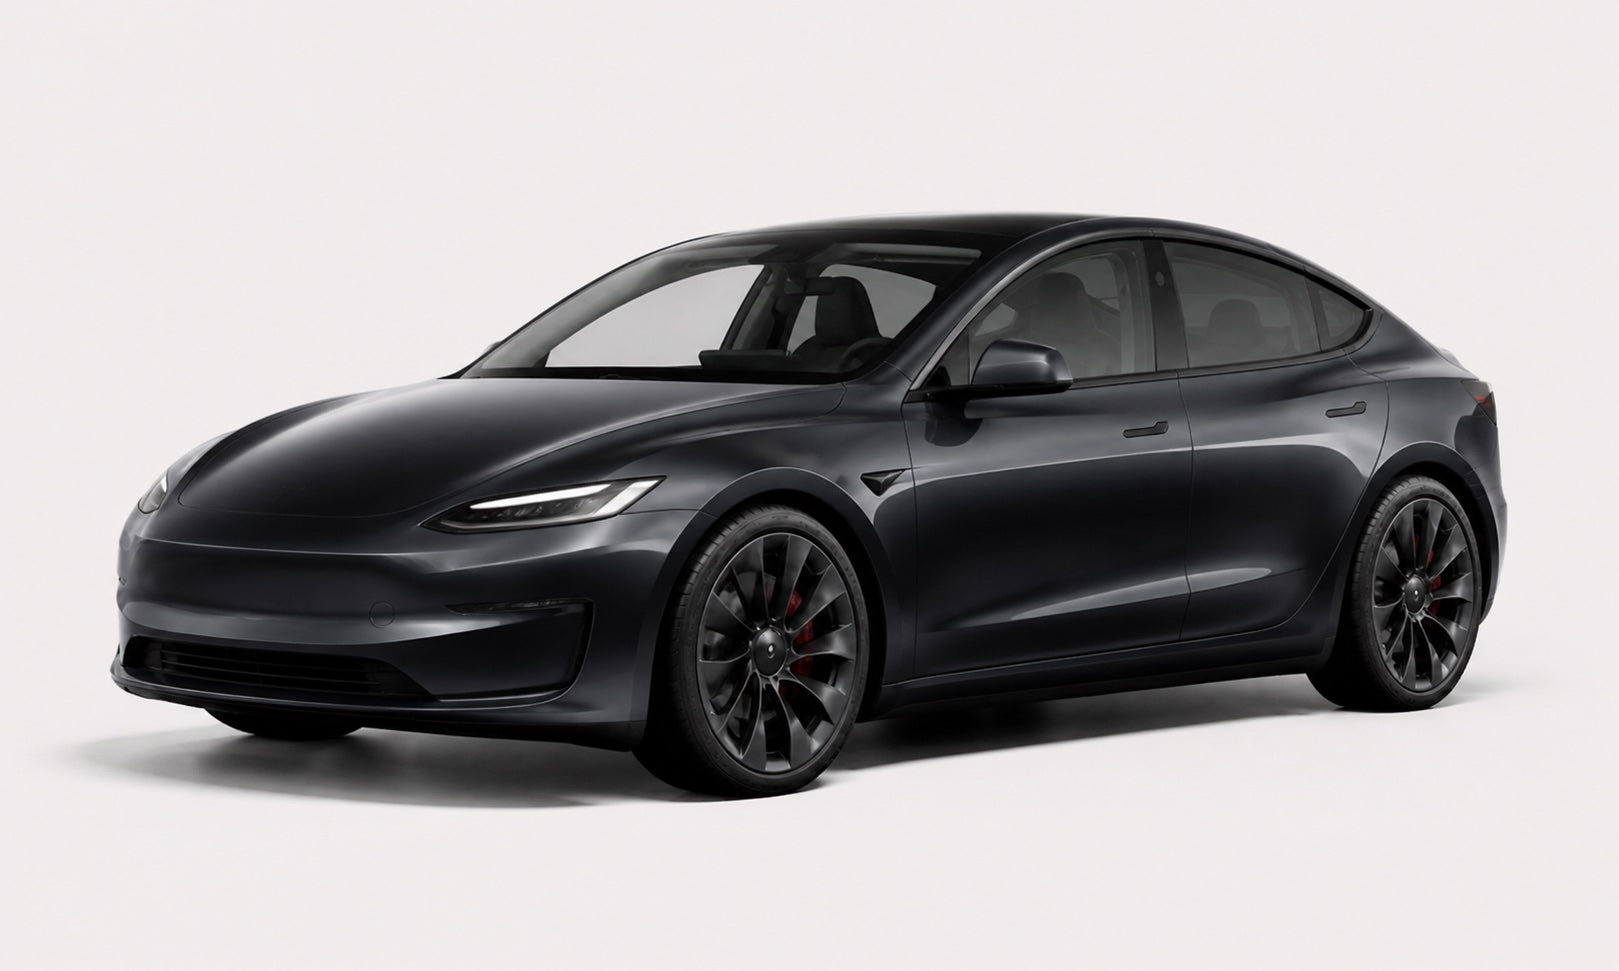
A no-drill mud flap set is worth comparing if road spray regularly reaches the lower sides of your Tesla. The useful question is whether the four pieces match your wheel arches and their intended fixing locations. “No-drill” describes the fixing approach; it does not mean every Model 3 or Model Y shares one set, or that checking the hardware can be skipped.
Key takeaways
4 points
- TERVELIO offers separate refreshed Model 3, refreshed Model Y and legacy Model Y four-piece options.
- Match front, rear, left and right pieces before touching the vehicle’s fasteners.
- A hole or contour that only aligns when forced needs a fit check, not more tightening.
- Mud flaps address road spray. They do not replace washing, tire clearance checks or paint care.
How we researched this guide: We reviewed the TERVELIO listing and configuration selector, Tesla’s original Model Y mud-flap procedure, and Model 3/Y cleaning guidance. We have not installed or road-tested this set. Tesla’s own hardware sequence belongs to its kit; the checks below do not transfer that sequence to a different product.
Choose by wheel-arch shape, not the shared product title
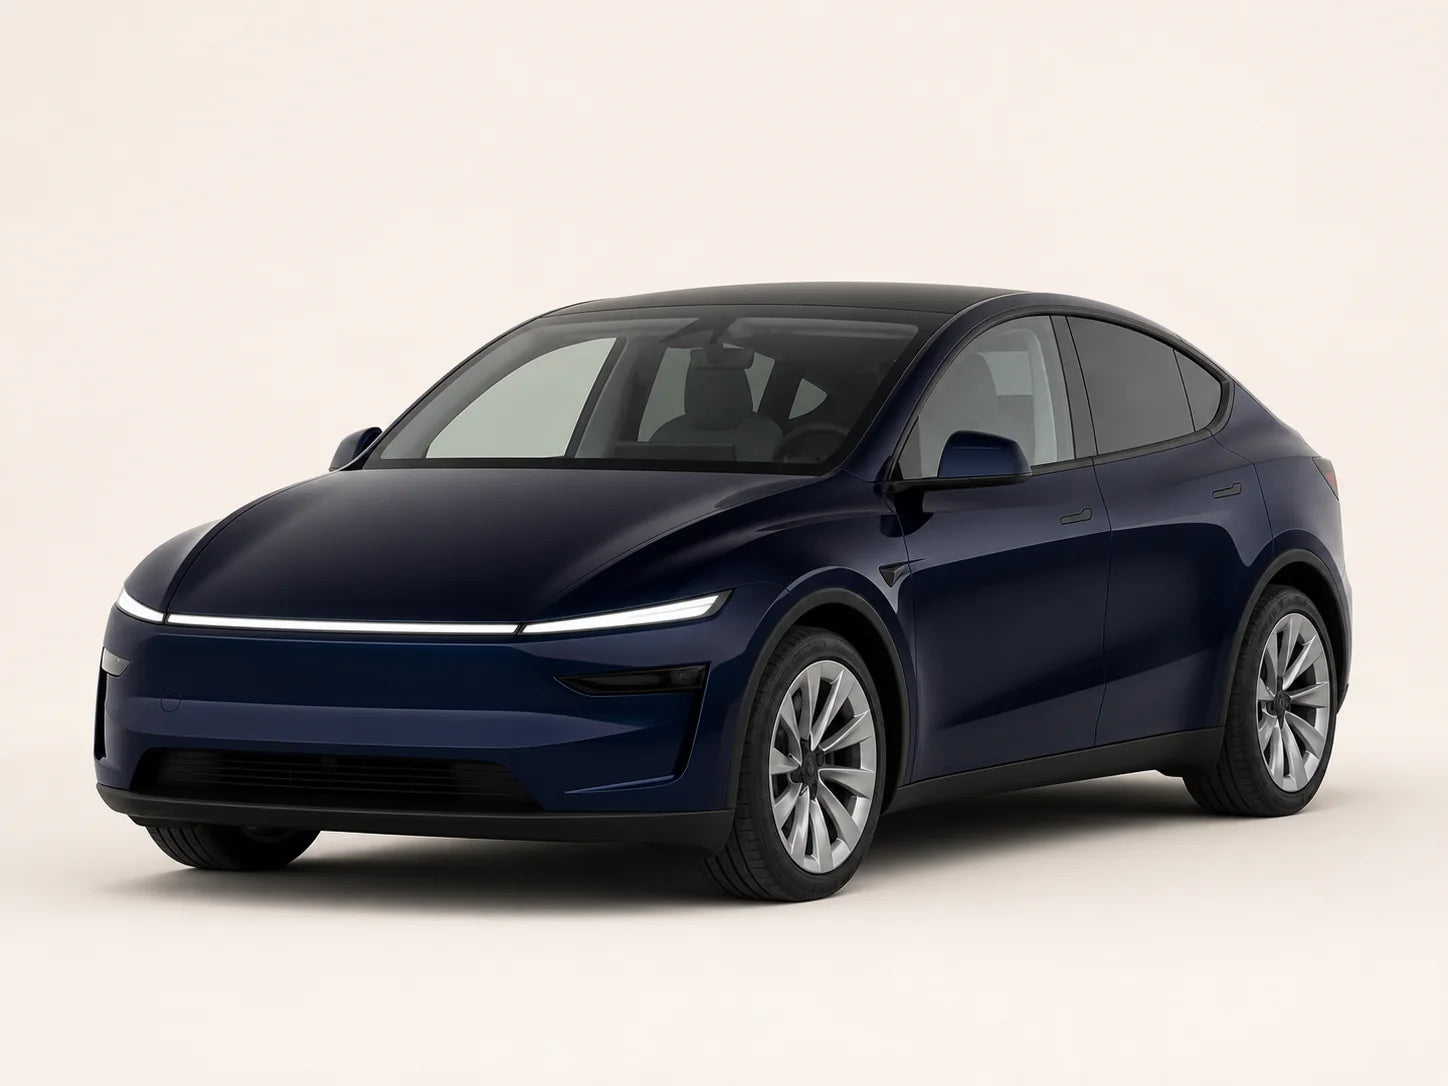
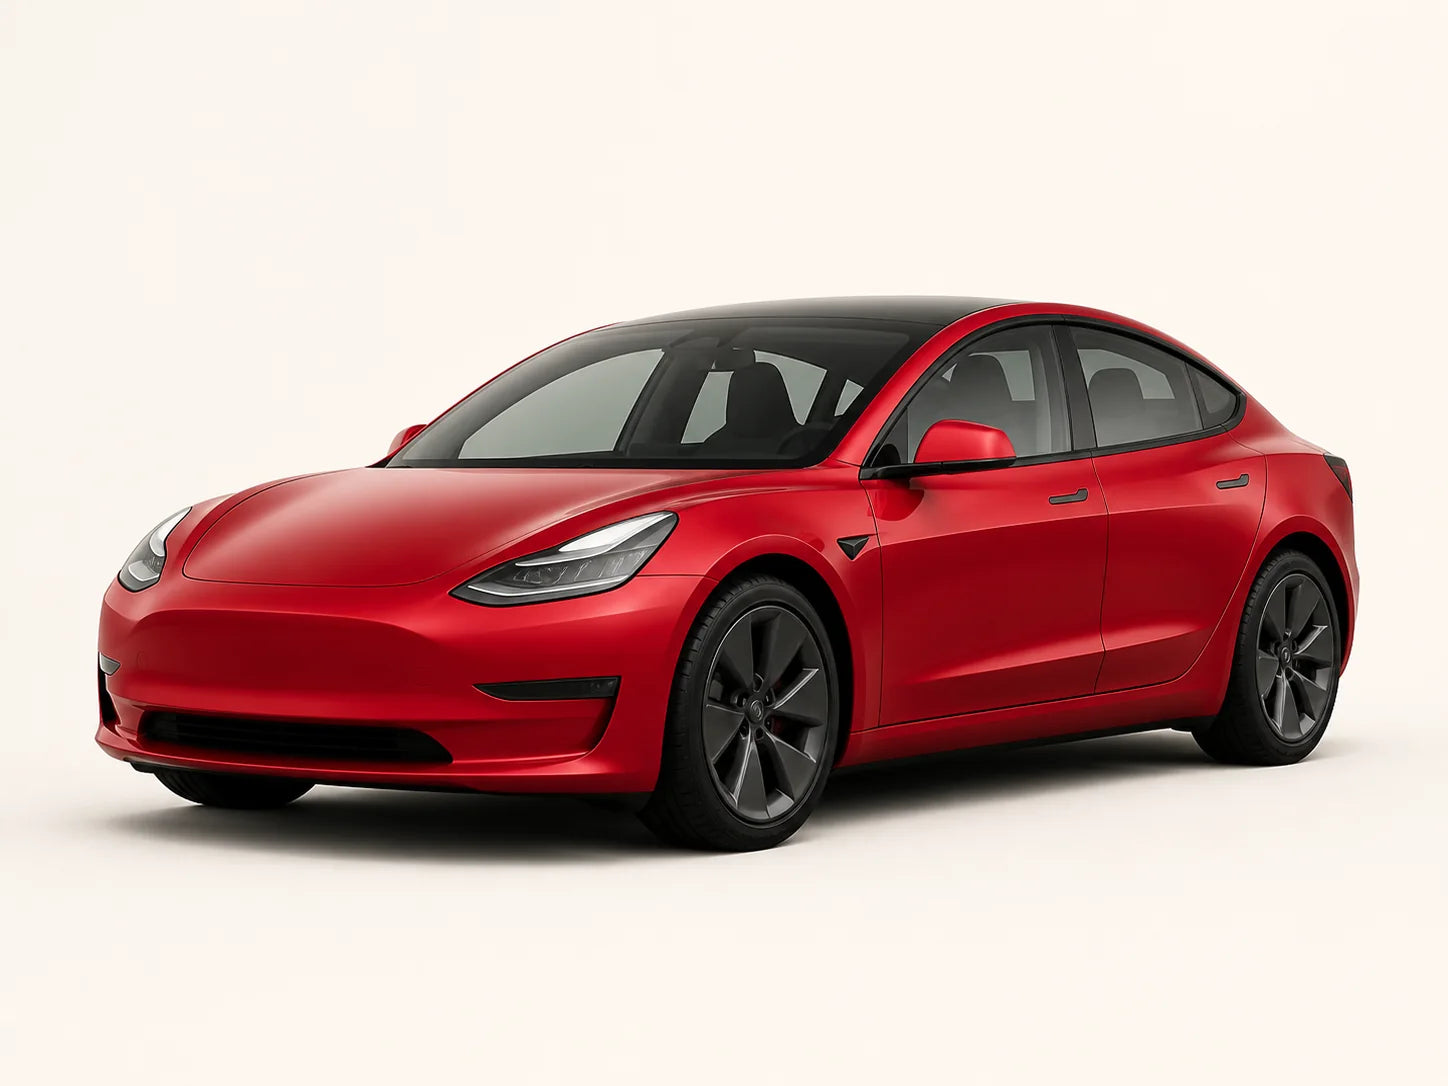
The heading names Model 3/Y, but the selector is more specific. The reviewed options are Refreshed Model 3, Refreshed Model Y and Legacy Model Y, each described as a four-piece set. There is no legacy Model 3 option in that selector. A wide title should not be read as a promise that an unlisted generation is covered.
| Vehicle situation |
Option to investigate |
Useful comparison |
| Refreshed Model 3 |
Refreshed Model 3 four-piece set |
Actual arch trim, hole positions and front/rear profiles |
| Refreshed Model Y |
Refreshed Model Y four-piece set |
Generation and the shape at both ends of the vehicle |
| Legacy Model Y |
Legacy Model Y four-piece set |
Older arch outline and intended mounting arrangement |
| Legacy Model 3, modified arches or an unclear changeover vehicle |
Ask before choosing |
A model-year label alone is insufficient |
Take one clear photograph of the front arch and one of the rear, showing the lower trim and intended fixing area. If your vehicle has different wheels, replacement arch trim or existing aftermarket flaps, mention that too. This gives support something concrete to compare. Keep the option name in the order rather than asking for “the Tesla set.”
Step 1: Define what you want the flaps to improve
Look at the car after an ordinary journey, before washing it. Are you mainly seeing wet road spray along the lower doors, grit near the rear lower body, or dirt across areas a small flap cannot cover? A photo helps distinguish an everyday spray problem from a cleaning expectation that no four-piece set can meet.
The product listing describes helping reduce mud, sand and debris spray. We have not measured that reduction or tested impact protection. Choose it as a localized accessory, rather than a way to guarantee a clean car after rain. That realistic expectation also makes later evaluation more useful: compare the same troublesome area, not the entire vehicle.
Step 2: Lay out four pieces and check the instructions
Use a clean surface where all four flaps can be seen. Separate the front and rear pair, then identify left and right from the supplied markings or instructions. Similar black pieces may have different curves and mounting features. A mirrored shape is not a spare universal part.
Before removing any existing fixing, identify the hardware supplied for your configuration and what the instructions say to retain or replace. Tesla’s own Model Y procedure specifies new clips for its original kit. That is a good example of why “reuse what is already there” is not a universal rule. Ask for TERVELIO’s version-specific fixing instructions if they are missing.
Step 3: Compare the contour before fixing it
With the vehicle parked and the working area visible, compare each part with its assigned arch. Look for the overall curve, the return at the edge and the relationship between mounting openings. Do not use a fastener as a lever to drag a misaligned part into place.
If it looks almost right, recheck the pair and orientation first. The wrong front/rear piece can create a convincing partial match. A clean overview photograph plus a close-up of the gap is more informative than a description that the flap “fits except for one hole.” Leave body drilling and reshaping out of the diagnosis.
Step 4: Complete fixing and clearance checks
Use the actual set’s documented fixing method and required tools. This guide does not supply torque figures, removal order or a wheel-removal procedure. The public listing describes factory mounting locations and no body drilling, but those phrases do not explain every clip and screw for each vehicle version.
After the correct fixing has been completed, inspect the edges and the attachment points. Have the clearance check performed in the positions required by the installation instructions, including steering movement where relevant. There should be no contact with the tire or interference with surrounding vehicle parts. Do not take a rubbing or loose part onto the road to see whether it settles.
Step 5: Keep a practical aftercare record
Photograph the finished locations and retain the hardware information. If a part later moves, the first-installation photo gives you a reference for its original edge position. Check the flaps when washing the nearby wheel wells and after an incident that may have contacted them, rather than inventing a mileage interval for this untested set.
Tesla’s cleaning guidance discusses removing accumulated mud and road salt from wheel-well and underside areas. That remains relevant with flaps fitted. Use the vehicle’s cleaning guidance for the car and the accessory’s own material instructions for the new part. Avoid treating a concentrated pressure-washer jet as a way to test the attachment.
A set for the shortlist

No-Drill Mud Flap Set for Tesla Model 3/Y
Best for: An owner of a listed generation who wants four-wheel road-spray coverage and can complete the configuration-specific fixing check.
Skip if: Your generation is absent from the selector, a mounting contour does not match, or you expect guaranteed stone-chip protection.
Verified listing details: Four-piece sets are listed separately for refreshed Model 3, refreshed Model Y and legacy Model Y. The description specifies factory mounting locations and no body drilling, with flexible black construction.
Current listing: $54.44 USD
Select an option for its price and availability.
Compare the three vehicle versions
Three everyday uses, with sensible expectations
Rainy school runs: Lower-body spray can be the reason to compare a set. Keep cleaning as part of the routine; a flap is not a substitute for removing dirt near door openings or shoes.
A gravel driveway: Check how the lower parts sit at your usual entrance. Low obstacles or uneven surfaces deserve attention before you add an accessory near a wheel. Do not assume flexibility provides a tested ground-clearance guarantee.
Winter errands: Look for buildup during ordinary cleaning and follow vehicle guidance for road salt. If frozen debris is restricting the part or obscuring a fixing point, address it before judging the flap’s fit.
Troubleshoot the symptom rather than the finish
| Symptom |
Likely question to resolve |
Next step |
| One opening does not align |
Wrong version, pair or orientation? |
Compare the label and full contour before fastening |
| A flap rubs near the tire |
Incorrect position or a clearance issue? |
Stop use and have the fixing/clearance checked |
| An edge sits away from the arch |
Does the part follow this trim shape? |
Send overview and gap photographs |
| Spray remains elsewhere |
Is it outside the coverage area? |
Reassess the problem rather than adding another fixing |
Frequently asked questions
Does no-drill mean no tools are needed?
No. It means the listing describes an installation without drilling the vehicle body. Existing mounting locations can still require tools, version-specific clips or a documented fixing sequence. Before beginning, read the instructions for your exact set and identify the hardware. Do not turn a marketing phrase into a promise of a tool-free job. If the tools or fixing requirements are not explained, ask for them before removing anything.
Will the refreshed Model 3 set fit an older Model 3?
Do not assume that it will. The reviewed selector lists a refreshed Model 3 set and separate Model Y choices; it does not list legacy Model 3. Compare the generation, arch outline and mounting features, rather than relying on a Model 3/Y product heading. If you own an earlier car, send photographs and the model year before ordering. A similar silhouette does not establish the same fixing arrangement.
Are the four flaps interchangeable?
They should be treated as assigned front/rear and left/right pieces, with identity confirmed from the set’s markings or instructions. The supplied image shows differing profiles, so choosing whichever piece seems closest at one hole is unreliable. Lay out the whole set first and compare the complete contour. If the markings are unclear, photograph both pairs for support. Do not trim a piece simply to make its outline resemble another position.
Should I reuse the factory clips?
Use the hardware rule for the particular set. Tesla’s original Model Y procedure tells owners to replace certain clips for its kit, which shows that existing clips are not automatically the right answer. It does not tell you what to do with a TERVELIO four-piece set. Ask which fasteners are retained and which supplied parts replace them. Keep those answers with the package so future removal uses the same information.
Can I tighten a flap until the holes line up?
No. A fastener should secure a correctly positioned piece, not pull a mismatched outline into place. Recheck the option, the front/rear assignment and left/right orientation while the part is unsupported by the fixing. Photograph the whole flap against the arch and the specific mismatch. If the alignment remains wrong, resolve it before installation. Additional pressure can hide the original problem and make the next inspection less clear.
Will these prevent every stone chip?
That is not a supported conclusion from the listing. It describes helping reduce road spray and debris around the lower body, while a chip can depend on where and how an object strikes. We have not tested impact protection or compared damage rates. Choose a set for its stated coverage and keep broader paint care separate. Do not use a flap as a reason to ignore existing damage or cleaning needs.
What should I do if I hear rubbing after fitting?
Stop and have the installation inspected rather than driving until the noise disappears. Identify the location and photograph the part while parked. A rubbing sound can involve placement or clearance; appearance alone cannot diagnose it. Review the correct option, its fixing instructions and the wheel-area check with the installer or support. This article does not provide a remote adjustment or tightening procedure for a part contacting the tire.
Can I wash the car normally after fitting them?
Follow Tesla’s guidance for the vehicle and the flap manufacturer’s instructions for the accessory’s material and fixing. Inspect nearby areas for mud or salt buildup, and avoid directing a concentrated jet at an attachment as a strength test. If a part has shifted, address that before washing around it. Keep the original installation photos so cleaning inspections can compare its position rather than relying on whether it still looks roughly straight.
Sources