Cart
0

A rotating center display mount changes viewing angle, not the information shown on the screen. The useful setup keeps the factory display stable, leaves nearby controls clear and gives both driver and passenger a repeatable position.
Start with range of motion, not maximum angle
The best angle is the smallest adjustment that improves visibility. Extreme rotation can add glare, reduce passenger access or bring the display closer to adjacent surfaces.
Quick checklist
- Choose the vehicle-specific mounting version.
- Keep steering, vents and storage access clear.
- Check cable slack through the full movement range.
- Verify the screen remains stable on uneven roads.
- Return the display to a neutral position before service.

Five setup checks
Work through the sequence in order. Each step removes a different source of fitment or installation error.
- Match the mounting interface. Confirm model, model year, drive side and the product option before disassembly.
- Protect the cabin. Use a clean towel around trim edges and organize fasteners before removing parts.
- Install without cable strain. Route and reconnect wiring exactly as intended, leaving safe movement through the full arc.
- Set a neutral angle. Begin centered, then make small changes while seated in the normal driving position.
- Test every position. Check stability, cable clearance, glare and contact with nearby trim before regular use.
Fitment first. A listing title is a starting point. The physical shape, model year and selected option must also match the vehicle.
Common mistakes to avoid
- Selecting the wrong vehicle or drive-side version.
- Routing a cable where the mechanism can pinch it.
- Choosing an extreme angle before checking glare and control access.
Take one clear photo before installation and another after the final check. If support is needed later, those two images make it much easier to distinguish a fitment issue from an alignment or surface-preparation issue.
Positioning checks
| Area | Pass condition | Warning sign |
|---|---|---|
| Display | Stable and readable | Vibration or sag |
| Cables | Free through full arc | Pulling or pinching |
| Controls | Fully accessible | Blocked or crowded |
| Sight line | Lower glance effort | New blind area or glare |

Watch the adjustment range
Use the demonstration to understand movement; installation details still depend on the selected vehicle version.
Safety after installation
Set the display while parked. If the mount loosens, contacts trim or affects normal operation, stop using it and inspect the installation before driving again.
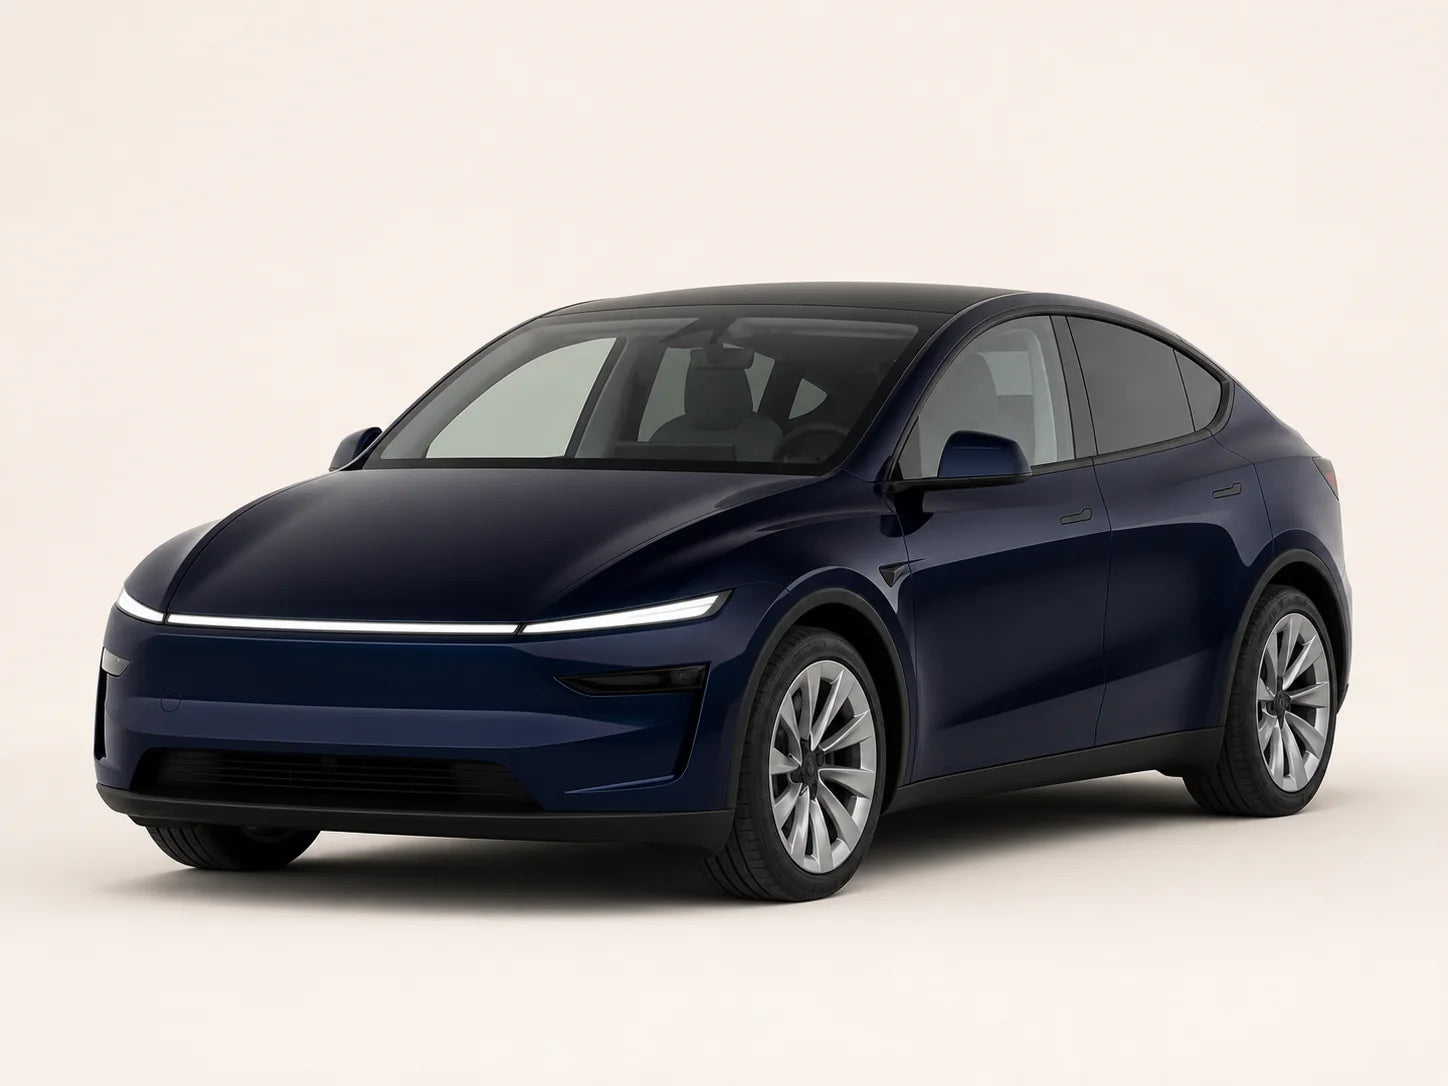
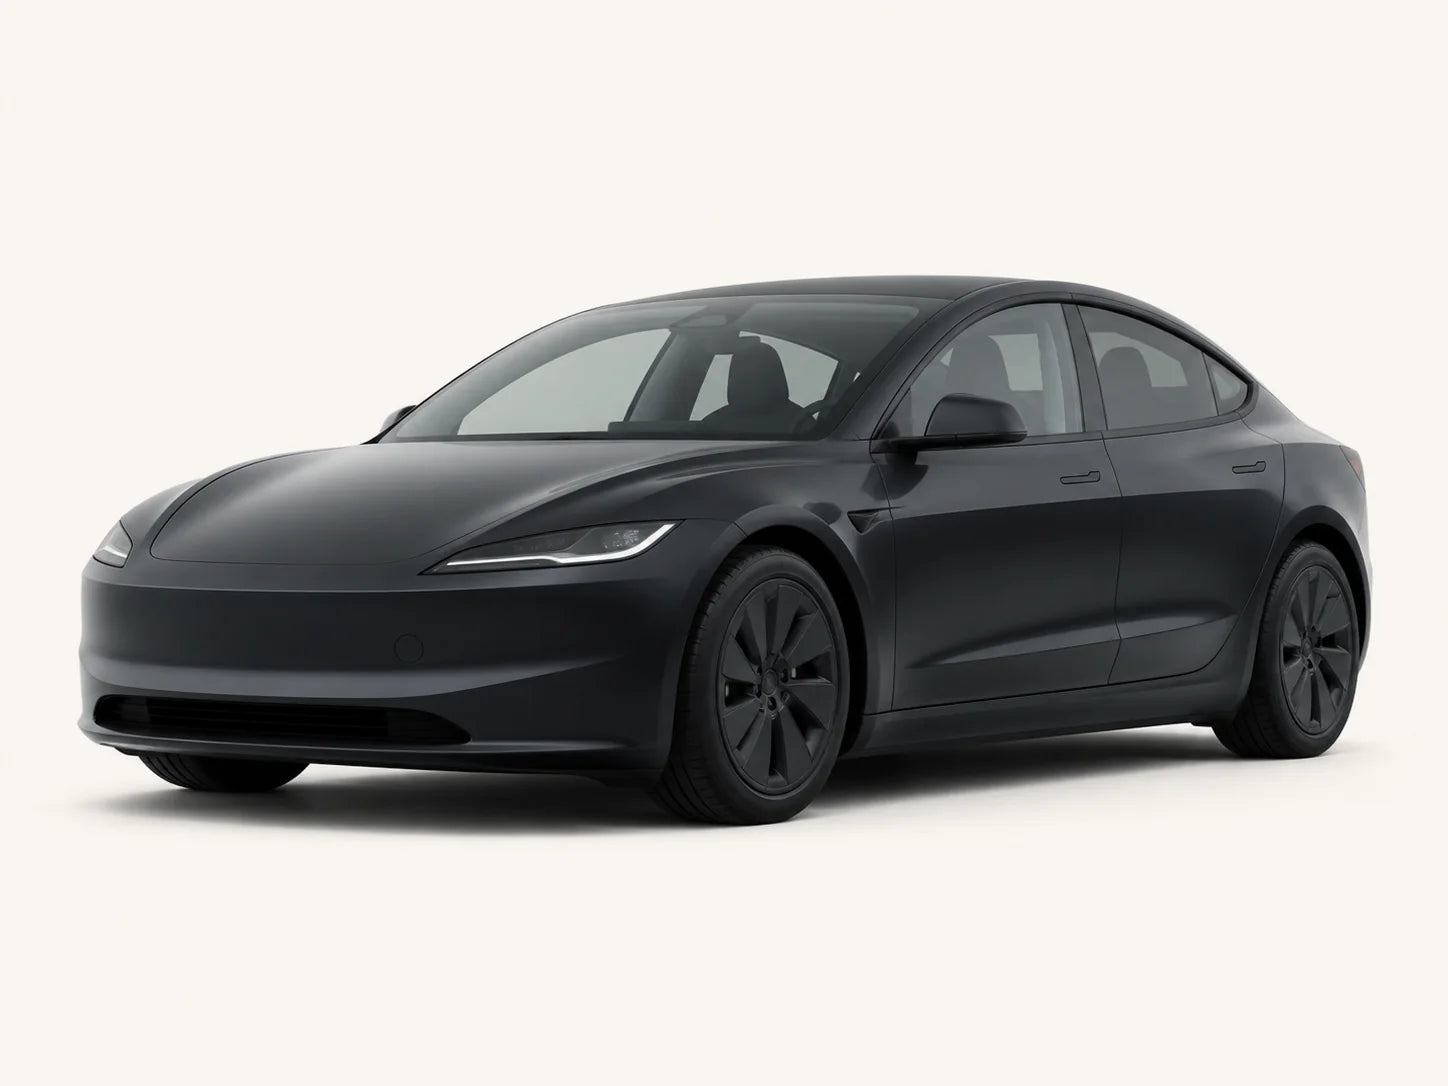
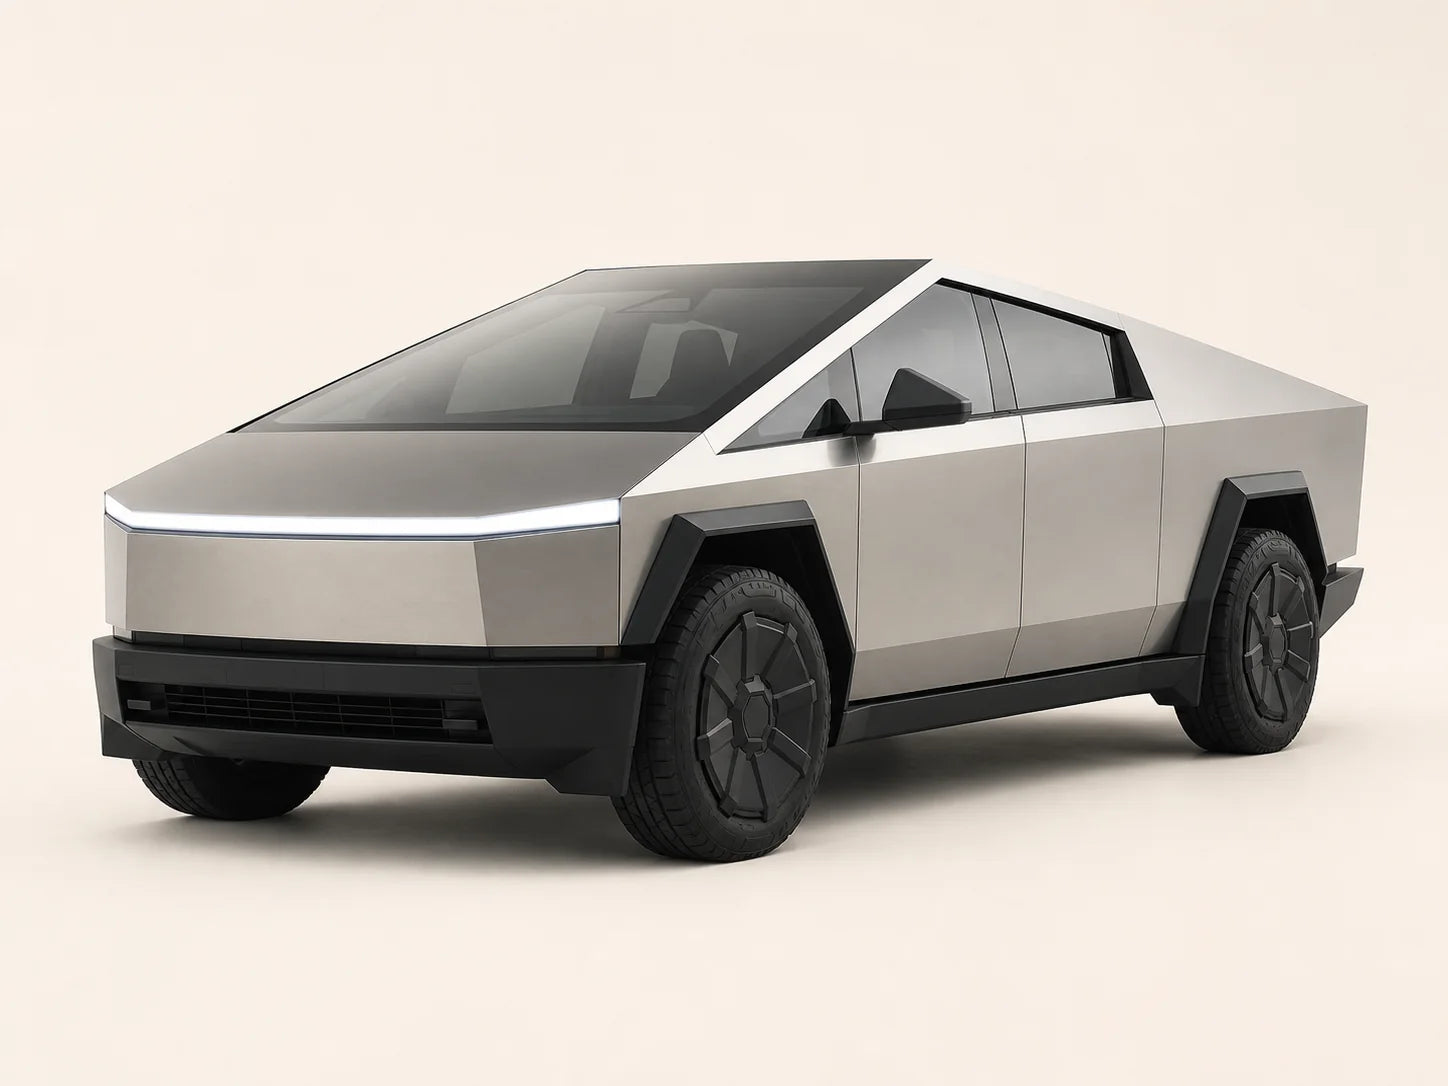
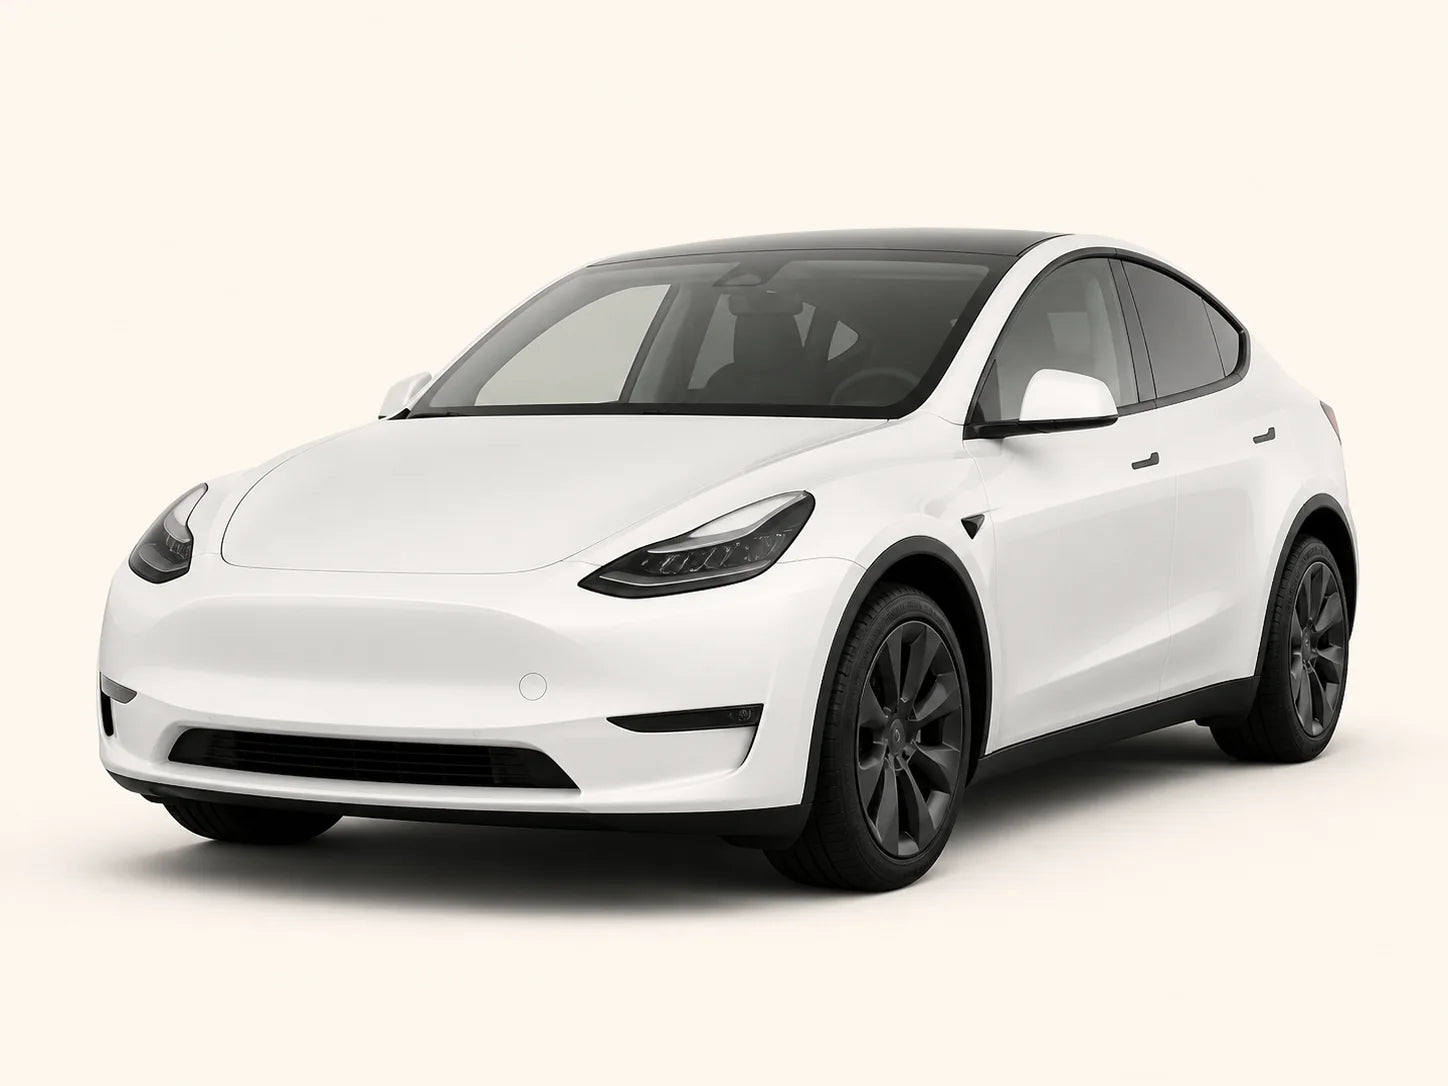
For current options, specifications and availability, see Rotating Center Display Mount for Tesla Model 3/Y and Cybertruck. Product configuration names should be checked again at checkout.
Tesla, Model 3, Model Y and Cybertruck are trademarks of Tesla, Inc. TERVELIO is an independent brand and is not affiliated with, endorsed by or sponsored by Tesla, Inc. Model references are used only for fitment identification.